CPR for the Choking Adult
When faced with an unresponsive adult who is choking, the steps for CPR differ slightly from standard CPR for an adult without an airway obstruction. Proper recognition and management of a choking emergency is critical, as a blocked airway can quickly lead to brain damage or death if not cleared.
Recognizing Choking
The first step is to quickly assess if the person is actually choking. An unresponsive person who is not breathing normally may be choking, but they could also be unconscious for other reasons. Look for the universal choking sign – the person clutching their hands to their throat, indicating they are unable to breathe. If you see this, you know the airway is blocked and you need to act quickly to clear the obstruction.
Choking vs. Cardiac Arrest
It’s important to differentiate between choking and cardiac arrest, as the initial steps for CPR are quite different. In a cardiac arrest, the heart has stopped pumping and the person is unresponsive and not breathing. With choking, the airway is blocked, preventing air from reaching the lungs.
In a cardiac arrest, you would start standard CPR by immediately beginning chest compressions. But for a choking victim, chest compressions will not be effective until the airway obstruction is cleared. That’s why the first steps for choking CPR focus on clearing the airway before moving to chest compressions.
Clearing the Airway
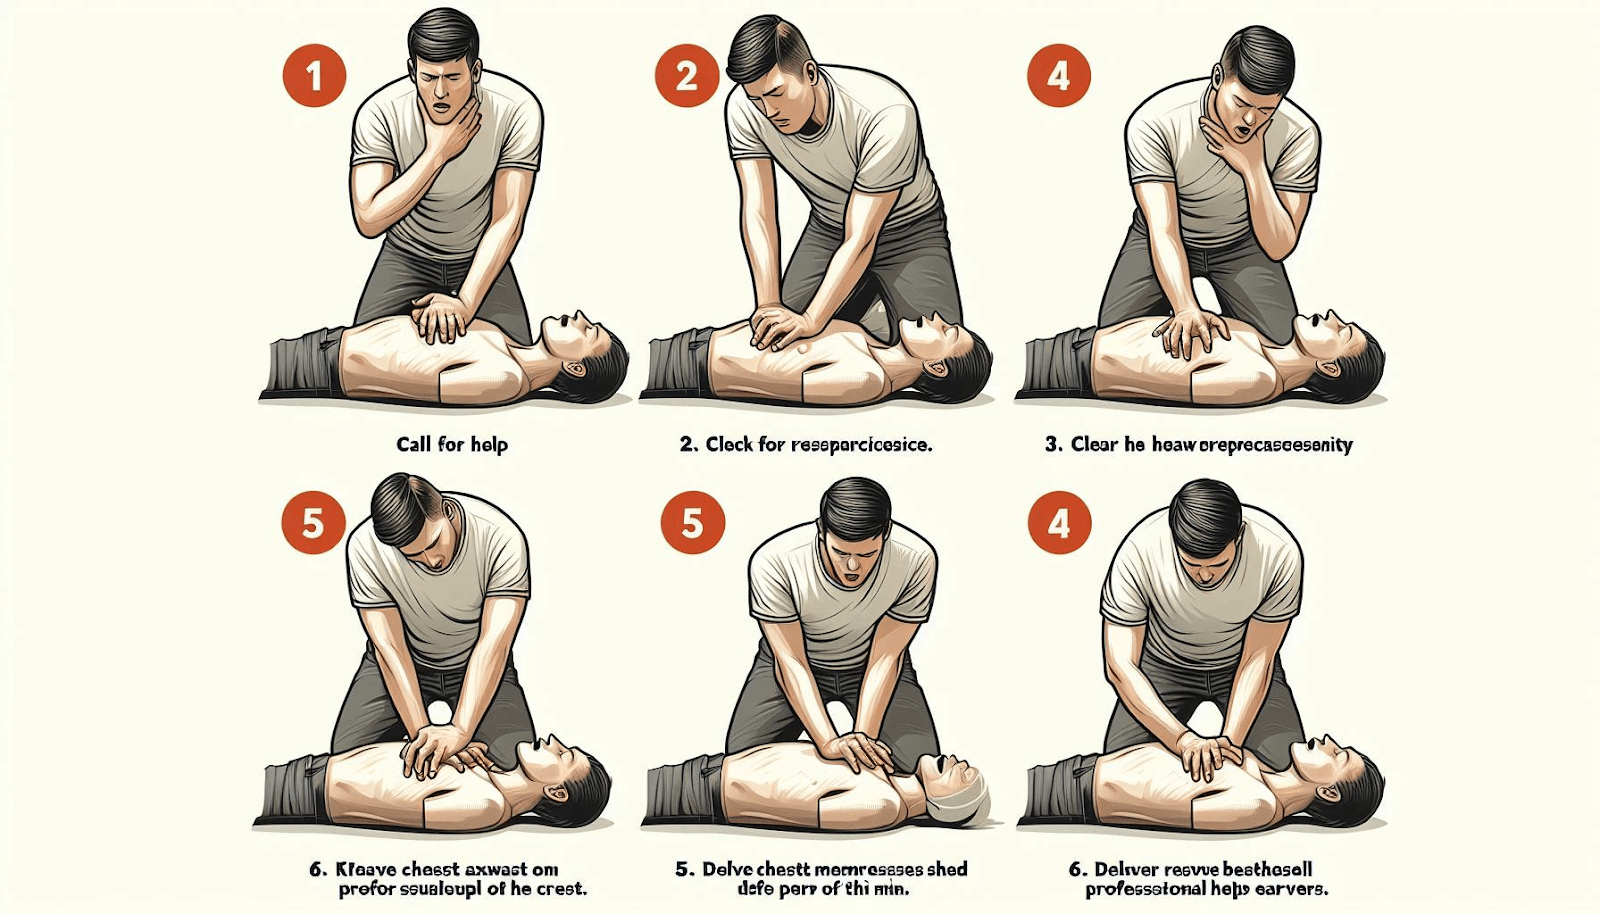
For an unresponsive choking victim, you’ll start by attempting to dislodge the object blocking the airway through a series of back blows and chest thrusts. Here are the steps:
1. Call 911. Have someone call emergency services right away, if possible.
2. Position the person. Lay the person on their back on a firm, flat surface. Kneel next to their chest.
3. Give 5 back blows. Place the heel of one hand between the person’s shoulder blades. Give 5 firm back blows with the heel of your hand. This can sometimes dislodge the object.
4. Give 5 chest thrusts. If the object does not come out with the back blows, immediately begin chest thrusts. Place the heel of one hand on the center of the person’s chest, between the nipples. Give 5 quick, firm chest thrusts.
5. Check the mouth. After the 5 chest thrusts, open the person’s mouth and look inside. If you can see the object, try to remove it with your fingers. Do not perform blind finger sweeps, as this can push the object further into the airway.
6. Repeat cycles. Continue alternating sets of 5 back blows and 5 chest thrusts, checking the mouth in between, until the airway is cleared or the person becomes responsive.
The key difference with choking CPR is the focus on the back blows and chest thrusts to try to dislodge the object first, rather than starting with chest compressions like in standard CPR. Clearing the airway obstruction is the top priority.
Only if you are unable to clear the airway using the back blows and chest thrusts do you then move on to standard CPR with chest compressions and rescue breaths.
Performing Chest Thrusts
The chest thrusts are a critical part of choking CPR. Here’s how to properly perform them:
1. Position your hands. Place the heel of one hand on the center of the person’s chest, between the nipples. Place your other hand on top of the first.
2. Give 5 quick thrusts. Press down firmly and quickly on the chest 5 times. The thrusts should be delivered at a rate of about 100-120 per minute, the same as for standard CPR chest compressions.
3. Use your body weight. Lean into the thrusts, using your body weight to push down on the chest. Don’t just push with your arms.
4. Allow full chest recoil. After each thrust, allow the chest to fully recoil before giving the next one.
The goal of the chest thrusts is to create a quick upward thrust that can potentially dislodge the object and clear the airway. They are done more forcefully than standard chest compressions.
When to Start Standard CPR
If, after multiple cycles of back blows and chest thrusts, you are unable to clear the airway and the person remains unresponsive and not breathing, you’ll need to transition to standard CPR.
1. Begin chest compressions. Place the heel of one hand in the center of the person’s chest, between the nipples. Place your other hand on top. Begin 30 chest compressions, pushing down about 2-2.5 inches at a rate of 100-120 per minute.
2. Give 2 rescue breaths. After the 30 chest compressions, give the person 2 rescue breaths by tilting their head back, lifting their chin, and giving each breath over about 1 second.
3. Continue cycles of 30:2. Keep alternating 30 chest compressions and 2 rescue breaths until the person starts breathing on their own or emergency help arrives.
When to Stop
Continue the cycles of chest compressions and rescue breaths until:
– The person starts to breathe on their own and becomes responsive
– Another trained responder or emergency medical personnel take over
– You become too exhausted to continue
If the person remains unresponsive and not breathing, continue CPR until emergency help arrives, even if it seems futile. CPR can keep oxygenated blood circulating to the brain and improve the chances of survival.
Choking in Special Situations
There are a few special situations to be aware of with choking CPR:
Pregnant women: For a pregnant woman who is choking, you’ll use the same back blows and chest thrusts as with other adults. The only difference is that for the chest thrusts, you’ll place your hands slightly higher on the breastbone, just above the belly.
Infants: For a choking infant under 1 year old, you’ll use back blows and chest thrusts, but the technique is slightly different. For back blows, you’ll hold the infant face down on your forearm and give 5 back blows between the shoulder blades with the heel of your hand. For chest thrusts, you’ll place 2 fingers in the center of the infant’s chest, just below the nipples, and give 5 quick thrusts.
Obese individuals: For an obese or overweight person who is choking, the hand placement for the chest thrusts may need to be slightly higher on the breastbone to reach the right compression spot.
Critically, in any choking emergency, you must act quickly. Brain damage can occur within just a few minutes without oxygen. Be prepared to alternate between back blows, chest thrusts, and standard CPR until the obstruction is cleared or emergency help arrives.
Choking Prevention
Of course, the best approach is to prevent choking emergencies in the first place. Here are some tips:
– Ensure food is cut into appropriately small pieces, especially for young children.
– Supervise children closely during meals.
– Avoid talking, laughing, or walking with food in the mouth.
– Learn the Heimlich maneuver and CPR skills.
– Keep small objects away from young children who may put them in their mouths.
Choking is a frightening and time-sensitive emergency, but knowing the proper CPR techniques can help save a life. Stay calm, act quickly, and don’t hesitate to call 911 and begin clearing the airway. With the right steps, you can make the difference between life and death for a choking victim.